
Fun and Powerful
Remember playing in the arcade? Wasn't it FUN? Shouldn't music making feel fun and not frustrating? Meet the 3D: 4 banks of 16 buttons means this is all you need to play a full song. The fully customizable LEDs let you create bright, eye-popping light shows.

Plays Like A Drum
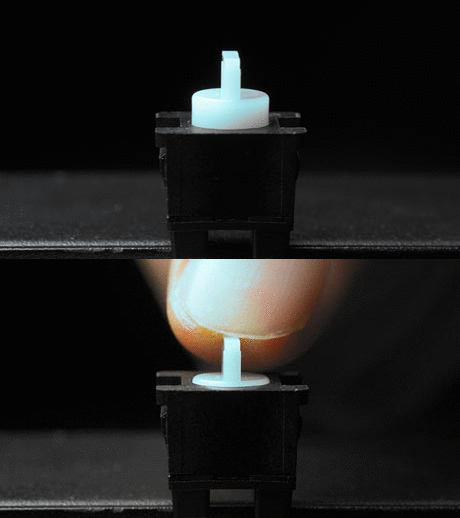
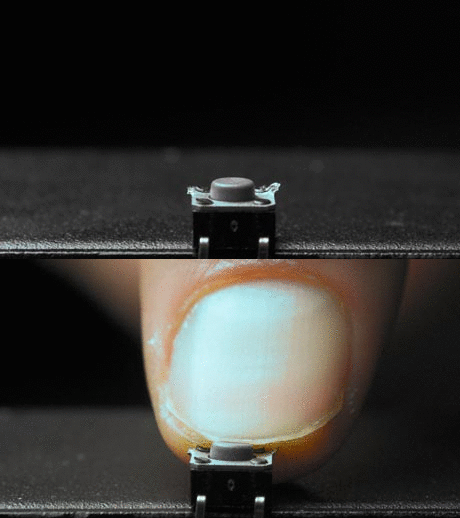
Authentic Japanese arcade buttons are the highest quality button in the world, offering industry leading latency and an incredible feel. They bounce back with spring loading for ultra fast playback and easy triplets & drum rolls. It's popular for a reason.

Built Like A Tank
All 16 Sanwa arcade butons are made in Japan to the highest specification. Rated at 5 million presses, they will probably never break in your lifetime. Combine that with rock solid construction and zero moving parts? This will survive a serious beating.
Technical Details

$10-$20 import costs Click here for specific rates into your country
You're fully covered Every shipment is fully covered for loss
Dimensions
- Depth: 6''
- Width: 6''
- Height: 1.5''
- Weight: ~1lb
Key Features
- Accurate, detailed precision on all axis
- Full motion tracking of tilt, pan, and rotation.
- Map accelerometer data to any midi-compatible effect or software
- Traktor Pro, Ableton Live and Serato Scratch official mappings
- Customizable, animated LED color rings
Minimum System Requirements
- The Midi Fighter 3D is a class compliant, plug and play controller.
- It will work with any computer that has a USB port and supports MIDI.
Why DJ TechTools?


Bundle & Save
Downloads & Support
Midi Fighter 3D Configuration Guide
Download the Midi Fighter Utility:
OSX (requires 10.7 or newer) or Windows (requires Windows 7 or newer)
MIDI FIGHTER 3D
Midi Fighter 3D User Guide (PDF): everything you need to know about configuring and mapping your Midi Fighter 3D.
TRAKTOR
1. Download the Midi Fighter Utility, it is an essential tool for configuring and updating your Midi Fighter
- Midi Fighter Utility OSX - 10.7 or newer
- Midi Fighter Utility Windows - Vista 32/64 or newer
2. Plug in your Midi Fighter 3D via USB (not to a USB hub) and follow the onscreen instructions on the utility.
3. Make sure your Midi Fighter is in "Traktor Mode" in the Utility. Find out what Ableton and Traktor mode mean in the Midi Fighter Utility
4. Once you have the firmware up to date you need to download a mapping. Here are the mappings
5. Import your mapping.
- If you are using only one controller click the big Import button in the preferences menu between Export and Setup Wizard, make sure all available boxes under "Select Categories to Import" are checked.
- If you are using your Midi Fighter with another controller read this article on how to import multiple TSI files
6. Go to Preferences > Controller Manager and select the Midi Fighter mapping in the Device drop down menu. There may be more than one. Select one line at a time and set the in and out ports to your Midi Fighter.
7. If your effects aren't working correctly then you need to import the effects settings again. Use the big import button between export and set up wizard in the preferences menu under controller manager. Import the *.tsi file again and only check "effects settings" under "select categories to import"
If you want to use your Midi Fighter 3D in Remix Deck Mode, please see the Remix Deck Mode Guide

ABLETON
1. Download the Midi Fighter Utility, it is an essential tool for configuring and updating your Midi Fighter
- Midi Fighter Utility OSX - 10.6.8 or newer
- Midi Fighter Utility Windows - Vista 32/64 or newer
2. Plug in your Midi Fighter Pro via USB (not to a USB hub) and follow the onscreen instructions on the utility.
3. Make sure your Midi Fighter is in "Ableton Mode" in the Utility. Find out what Ableton and Traktor mode mean in the Midi Fighter Utility
4. Open Ableton Live
5. Go to Preferences > Midi/Sync
6. Go to the Midi Ports section and turn remote on for the input and output of the Midi Fighter. You will also need to turn track on for the input and output of the Midi Fighter. More information about what this means
-
Learn more about MIDI mapping your controls
-
If you are using a Mad Zach Sound Pack we made a great video to show how to easily set them up on Abelton available here.
Other Useful Information And Resources
-
How to make remix deck sets with Traktor
-
How to build remix decks in your sets
- Find out what Ableton and Traktor mode mean in the Midi Fighter Utility
-
Ean discusses an easy way to remix songs on the fly in DJ sets
-
Get some tips on your first controllerism routine
Please visit our support page for technical and order support, or check out our forums to join the thriving community discussion.


